
A clean pigeon loft is not about making the building look perfect for a photograph. It is about giving the birds a dry, observable place to eat, rest, breed, and recover while making daily work manageable for the keeper.
I like cleaning routines that are easy to repeat. Scrape the areas that collect droppings, remove wet or soiled material, clean feed and water areas, and look at the corners people usually walk past. Every cleaning pass is also a chance to notice what changed.
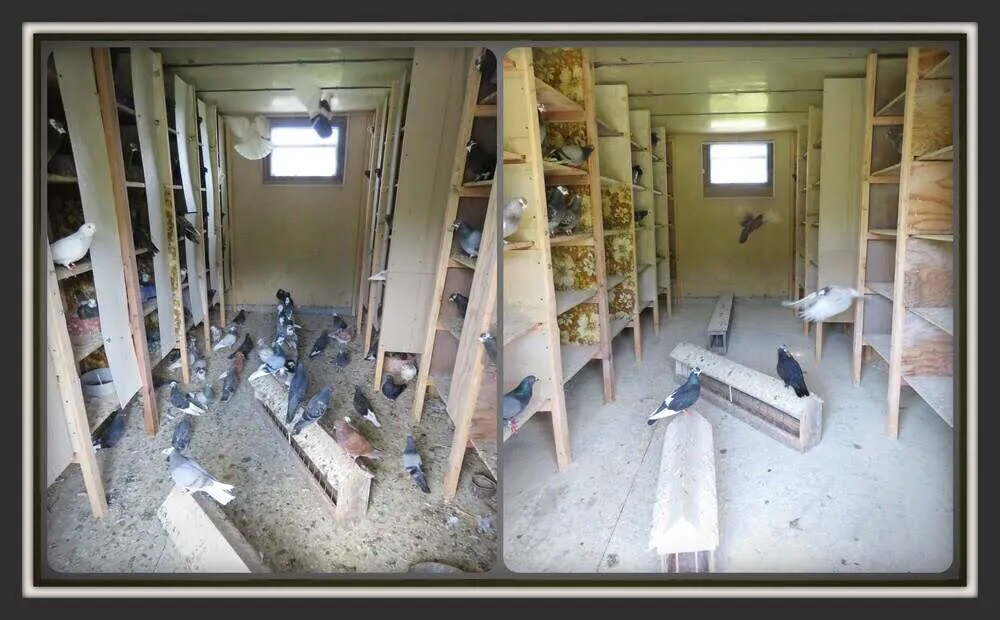
Start where the birds spend the most time
Begin high and work down. Perches, nest-box fronts, nest bowls, shelves, and the floor directly below the birds usually show buildup first.
A practical order is:
- Move birds only as needed and keep the work area calm.
- Remove feed and drinking containers from the immediate cleaning area.
- Scrape perches, shelves, and nest-box edges.
- Remove soiled nest material and loose floor debris.
- Clean spills around feed and water areas.
- Inspect corners, seams, wire, doors, and the areas below the loft.
- Return clean containers and confirm that the birds can use them normally.
Use tools that fit the surface and do not leave sharp edges or loose debris. Wear appropriate gloves and personal protection for the job, then wash your hands when finished.
Clean on a rhythm the loft actually needs
I prefer to pick up a scraper often instead of waiting for every surface to become a major job. That is Northland experience, not one universal schedule.
The right frequency changes with the number of birds, perch design, breeding activity, weather, floor type, and how quickly an area becomes wet or soiled. Inspect first and clean when the condition requires it.
A weekly deep look can help even when daily scraping is already part of the routine. The weekly loft checklist gives the inspection a repeatable structure.
Dry is as important as visibly clean
A floor can be scraped and still stay damp. A corner can look empty while holding moisture under material. After rain, humid stretches, a leaking waterer, or a heavy bathing day, check the places where water collects.
Pay attention to:
- Areas below waterers and bath pans
- Exterior walls and roof seams
- Door thresholds
- Nest boxes and bowls
- Low corners with weak airflow
- Material covering a floor that cannot be seen easily
Do not hide damp material under a fresh layer. Remove what is wet, clean the surface, and correct the leak, spill, drainage, or airflow issue that allowed it to remain.
Floor type changes the work, not the responsibility
Wood, concrete, grating, raised floors, and other designs each create different cleaning and maintenance needs. No floor is automatically clean or dirty on its own.
Ask practical questions:
- Can droppings and spilled feed be removed completely?
- Can the floor and the space below it be inspected?
- Does water drain or become trapped?
- Can rodents or wild animals dig or enter around the edge?
- Is the surface damaged, sharp, rotting, or difficult to sanitize?
The guide to perches, nest boxes, and loft flow explains why a good setup should work with the keeper’s routine. A fancy surface that cannot be inspected is not an improvement.
Airflow belongs in the cleaning conversation
A loft can look tidy and still feel stale. Notice heavy odor, condensation, damp corners, dust hanging in the air, or a space that becomes uncomfortable when doors are closed.
Ventilation should move stale air and moisture out without directing a hard draft at resting birds. Clean vents and screens, keep them protected from weather and animals, and make sure a new seasonal panel has not blocked the intended airflow.
Do not improvise unsafe electrical work for fans, heaters, lights, or heat lamps. Wiring and equipment should be appropriate for a dusty animal area and installed or repaired by qualified people. Cleaning cannot correct an electrical or structural hazard.
Nest bowls need close, frequent attention
Young birds cannot move away from a dirty or damp bowl. Inspect nesting material, the bowl surface, and the surrounding box. Replace material that is soiled, damp, moldy, tangled, or difficult to inspect.
Keep loose strings, hair-like fibers, wire, and other material that can wrap around feet, toes, legs, or bands out of the nest area.
Clean calmly and avoid turning every nest check into a major disturbance. The goal is clear access and steady observation.
Cleaning helps you see pests; it does not guarantee prevention
Perch ends, wall seams, nest-box corners, old material, and damp debris can hide insects or other pests. Cleaning makes those areas easier to inspect and removes material that should not remain.
Do not add pesticide dust, household insect spray, medication, or a chemical mixture to the ordinary cleaning routine. If mites or another pest are suspected, identify the problem and follow the exact current label and qualified guidance. The bird-mite inspection guide explains the label-first approach.
Keep feed and water areas easy to clean
Spilled feed attracts unwanted attention and makes new tracks or damage harder to see. Clean spills, close feed containers, and inspect them for moisture or chewing.
Waterers should sit where birds are less likely to fill them with debris or tip them into a hard-to-dry area. Clean the container as well as the space around it. Review the clean drinking-water routine and keep bath pans separate through the plain-water bathing guide.
Use cleaning as a health observation, not a diagnosis
Cleaning can show you changes in droppings, appetite, nesting, water use, feather debris, or where birds choose to sit. Write down a pattern that persists, especially when one bird’s posture, breathing, appetite, balance, or behavior has also changed.
Those observations are useful information. They do not identify a disease by themselves. Move a concerning bird to a calm observation space when appropriate and contact an avian veterinarian rather than choosing a medication from the appearance of the floor.
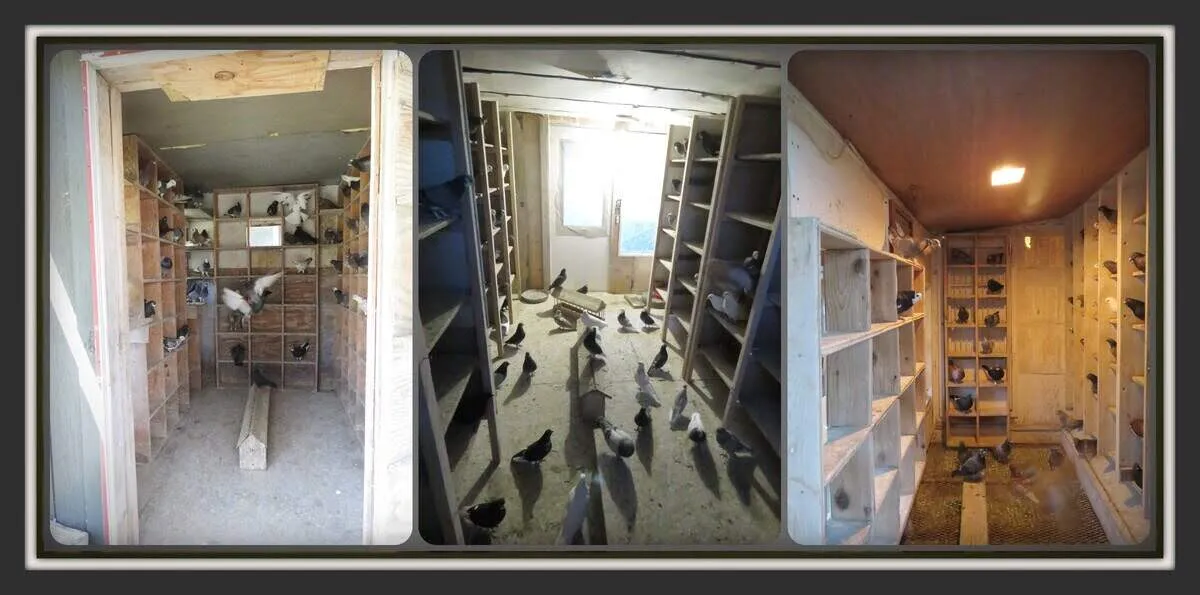
A practical closing checklist
- Perches and nest areas are inspectable.
- Wet and soiled material has been removed.
- Feed and drinking areas are clean and usable.
- Doors, wire, floors, and exterior edges show no new damage.
- Air can move without an unprotected opening or hard draft.
- Tools are cleaned and stored safely.
- The birds have settled normally after the work.
Clean from the top down. Keep the loft dry. Watch the corners. Fix the reason one area keeps getting dirty. Most of all, use the routine to learn what normal looks like in your own loft.
Until next time … enjoy the backyard fun.